How to Combine Transparent PNGs and Wall Art in Room Mood Boards
Build a room mood board in Canva with transparent PNG furniture, plants, and decor. Learn layering, realistic scale, and coordinating wall art.

Search

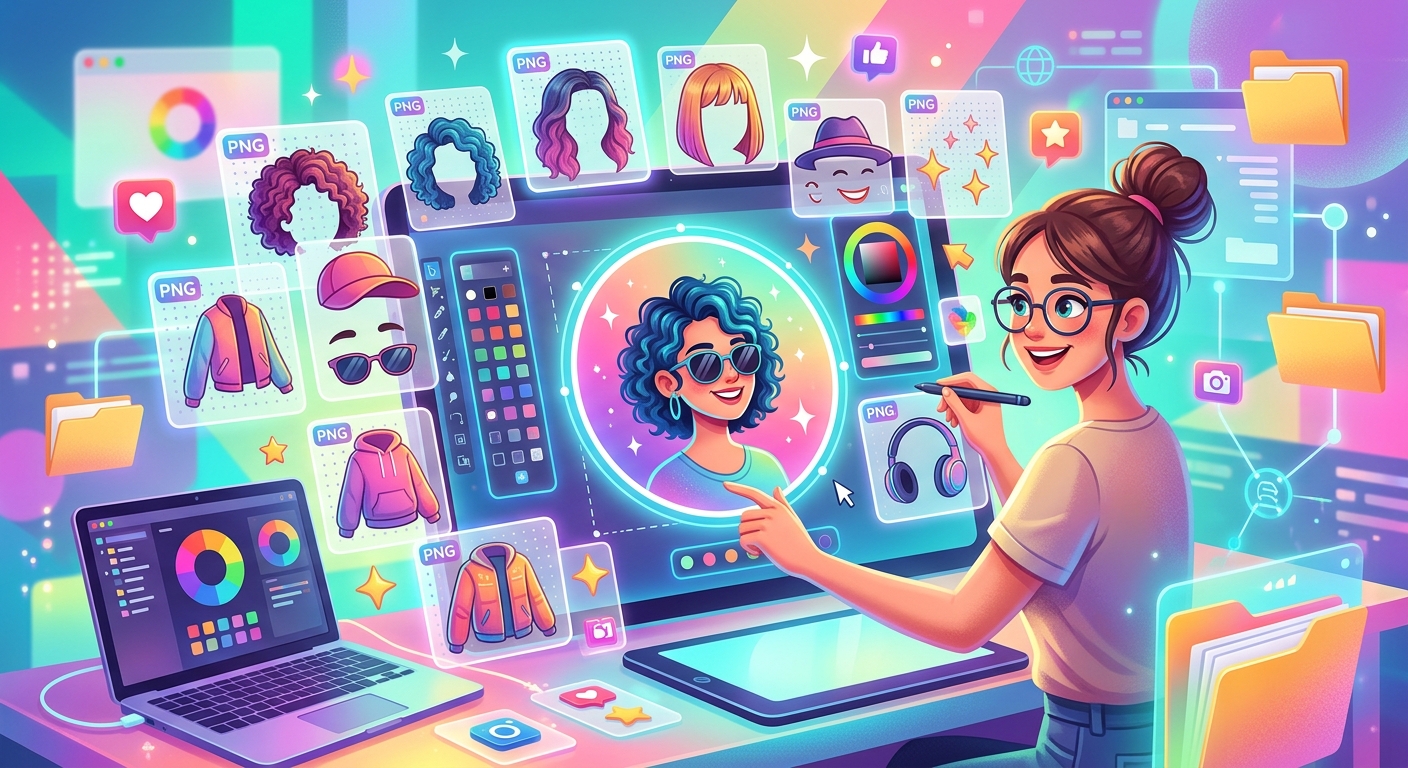
You want a strong profile picture. You do not have a decent photo to work with. Maybe you prefer to keep your real face off social media entirely. Or maybe you have a photo, but it looks flat and forgettable next to the creators you follow. That blank canvas moment, where you stare at an empty artboard with nothing worth building from, stops a lot of people before they even start. The good news is you can produce something genuinely polished from scratch without spending a cent.
Most avatar tutorials skip past the hardest step. They assume you already have a clean, well-lit portrait on a plain background. If you have that, great. If you do not, the tutorial leaves you stranded at step one.
Photographers charge for headshots. Stock photo licenses come with restrictions that get complicated fast. Cropping a shaky selfie into a design tool just produces a higher-resolution shaky selfie. The real problem is not your design skills. It is not even your software. It is having nothing worth building from in the first place.
That is exactly where most creators stall. The fix is to generate your starting image rather than photograph it.
Illustration-style avatars are everywhere on social media right now, and for good reason. They look intentional. They create a consistent visual identity across every platform you use. They also sidestep the portrait problem entirely.
An AI avatar generator lets you produce a stylized, illustration-based face in seconds. You pick a visual style, adjust a few parameters, and download a result that looks designed rather than snapped. The output is typically a centered face on a simple background, which is exactly the base asset you need before you start layering transparent PNGs around it.
Download the result as a PNG. If the background is a solid color, you can mask or remove it inside your design tool. If the illustration style is clean enough, you can work straight on top of it without any masking at all.
Transparent PNG files are what make layered avatar design fast and forgiving. Because the background is already cut away, you drop them straight onto any canvas and they blend instantly. No masking. No clipping paths. The alpha channel does all the heavy lifting for you.
PNGPix has thousands of free transparent PNG files organized into browsable categories. For avatar work specifically, focus on these types when you search:
Download two or three options in each category. You will swap them as you test different combinations, and having options on hand saves time later.
Canva is the fastest route from downloaded assets to a finished avatar. Its free tier handles transparent PNG uploads, layer reordering, and element resizing without any friction or account upgrade required.
Canva handles layer compositing automatically. There is no need to flatten or merge anything manually before you export.
GIMP gives you more precision than Canva when you want to color-grade your face layer, apply specific blend modes, or control opacity at a granular level. It takes a little longer to learn, but the ceiling for output quality is meaningfully higher.
Open a new 1000 x 1000 canvas in GIMP with a transparent background. Import your AI face image using File, Open as Layers. Import each PNG overlay the same way. Every file lands as its own separate layer in the Layers panel. Reorder them by dragging: face at the bottom, glow overlays in the middle, border frame at the top. Use the Opacity slider on each layer to dial in your blend values.
For anything more complex, such as curves adjustments or color balance edits on individual layers, layer editing guides from the software's official site walk through every option in depth. Export your finished file using File, Export As, and save it as a PNG to preserve transparency.
GIMP implements the full alpha channel behavior defined in the PNG format specification, which means transparent areas in your border and overlay PNGs export cleanly without white fringing or compression artifacts. That matters when your finished avatar needs to sit over a colored background on Discord or YouTube and still look sharp.
Every major platform crops profile pictures to a circle. Design for that crop from the start by keeping your face and border frame centered and within the inner 80 percent of the canvas. Anything near the outer corners will be clipped away and lost.
| Platform | Display Size | Crop Shape | Recommended Upload Size |
|---|---|---|---|
| 110 x 110 px | Circle | 1000 x 1000 px | |
| YouTube | 98 x 98 px | Circle | 800 x 800 px minimum |
| Discord | 128 x 128 px | Circle | 1000 x 1000 px |
| Twitter / X | 200 x 200 px | Circle | 400 x 400 px minimum |
After uploading, check the preview inside the platform's profile settings page. Some platforms compress images aggressively on the first upload. If the result looks soft or muddy, re-export at a slightly larger file size and upload again. A second upload almost always comes out cleaner.
You started with no photo, no budget, and no design background. You ended up with a layered, polished avatar built from a generated face, free transparent PNG overlays, and a free design tool. That is a real creative output, not a template with your name slapped on it.
The shift that makes the whole process click is thinking in layers rather than searching for a single perfect image. Transparent PNGs are modular design components. Drop them in, blend them, swap them out. The AI-generated face is an anchor, not a final product. The platform is just a delivery target with a size requirement. Put those three pieces together and the blank canvas problem stops being a problem.
Grab a few more PNG border styles from PNGPix, test them against different background colors, and keep iterating. Your first version will already look deliberate. By the third iteration, it will look like you paid someone to design it.
Build a room mood board in Canva with transparent PNG furniture, plants, and decor. Learn layering, realistic scale, and coordinating wall art.
Combine transparent PNG cutouts with AVIF photos in Canva or GIMP. Build clear thumbnails and social posts, handle import issues, and export clean designs.
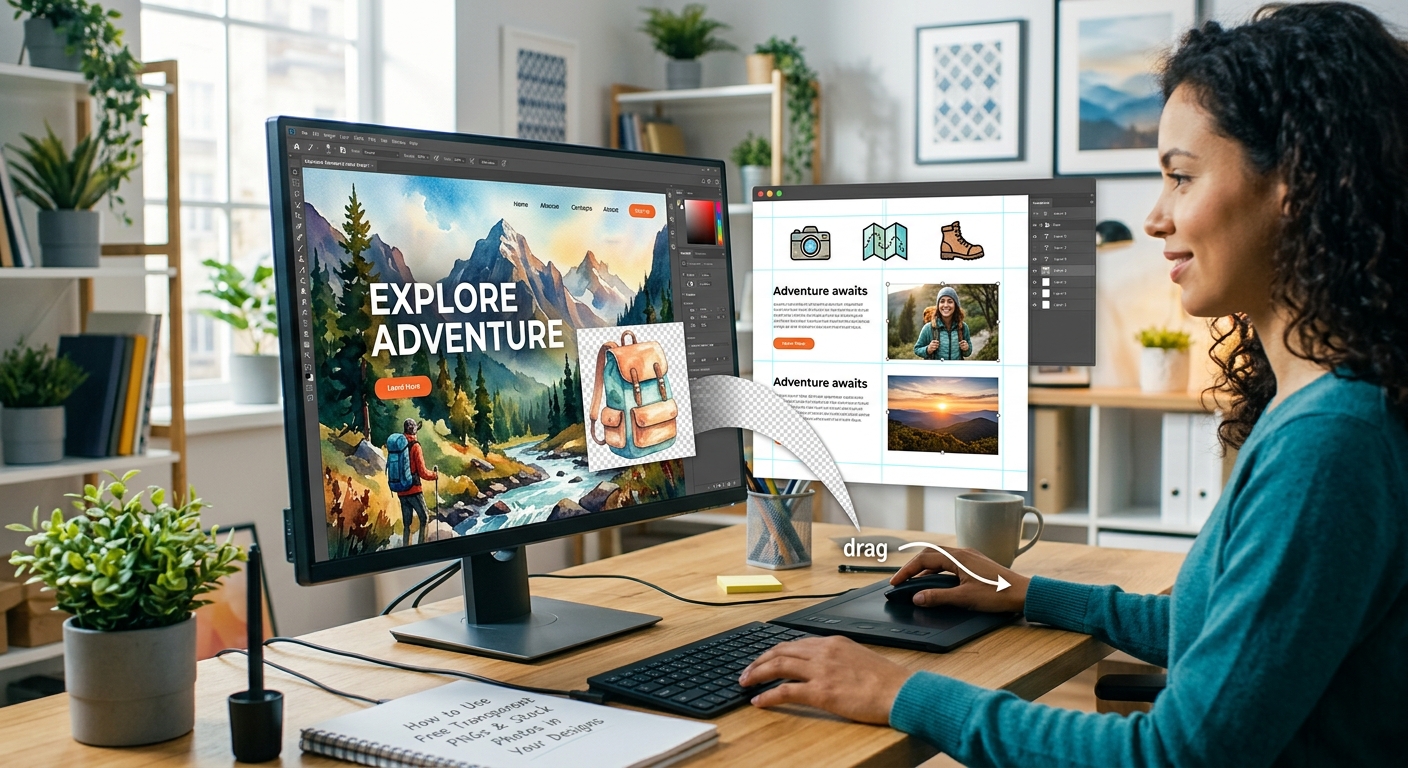
Layer free transparent PNGs over stock photos in Canva or GIMP to build polished thumbnails, social graphics, and blog headers step by step.