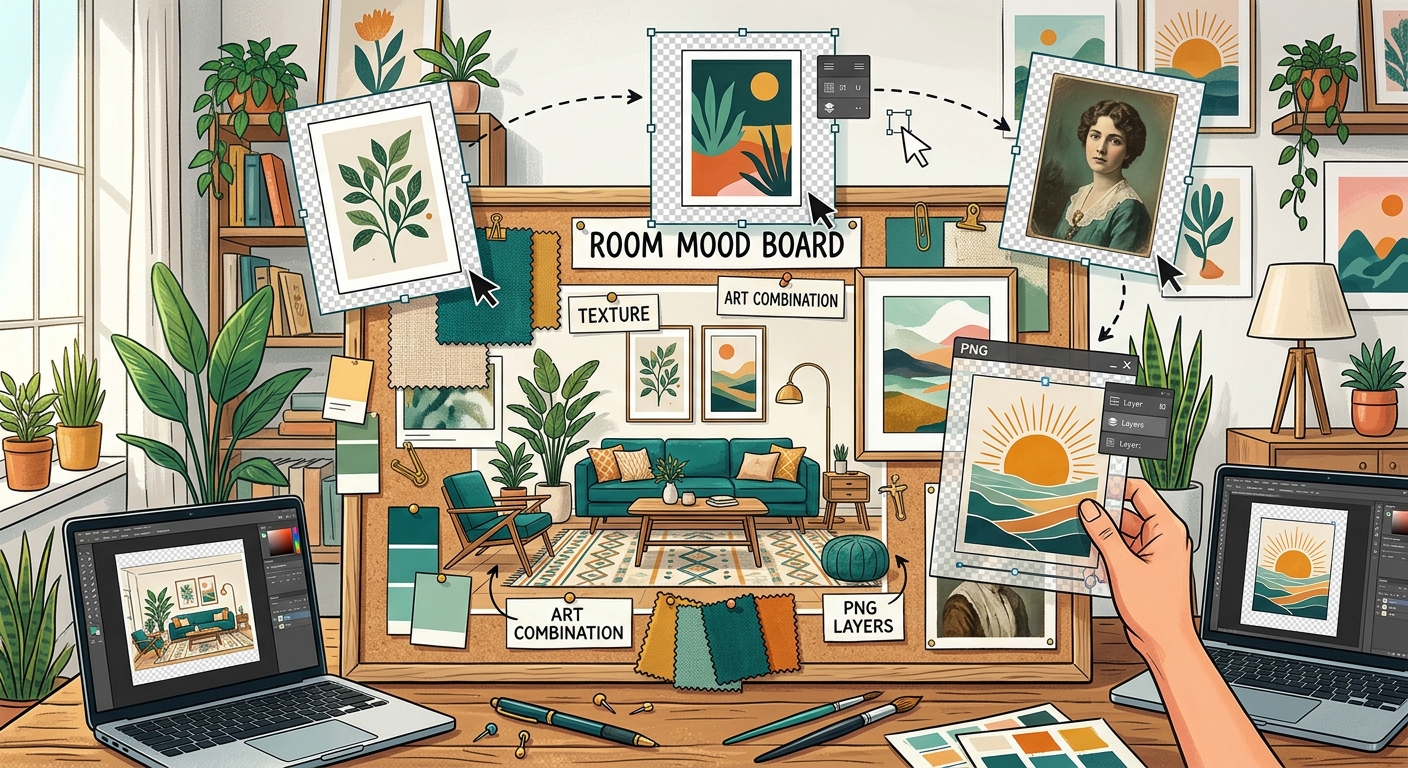
How to Combine Transparent PNGs and Wall Art in Room Mood Boards
Build a room mood board in Canva with transparent PNG furniture, plants, and decor. Learn layering, realistic scale, and coordinating wall art.

Search

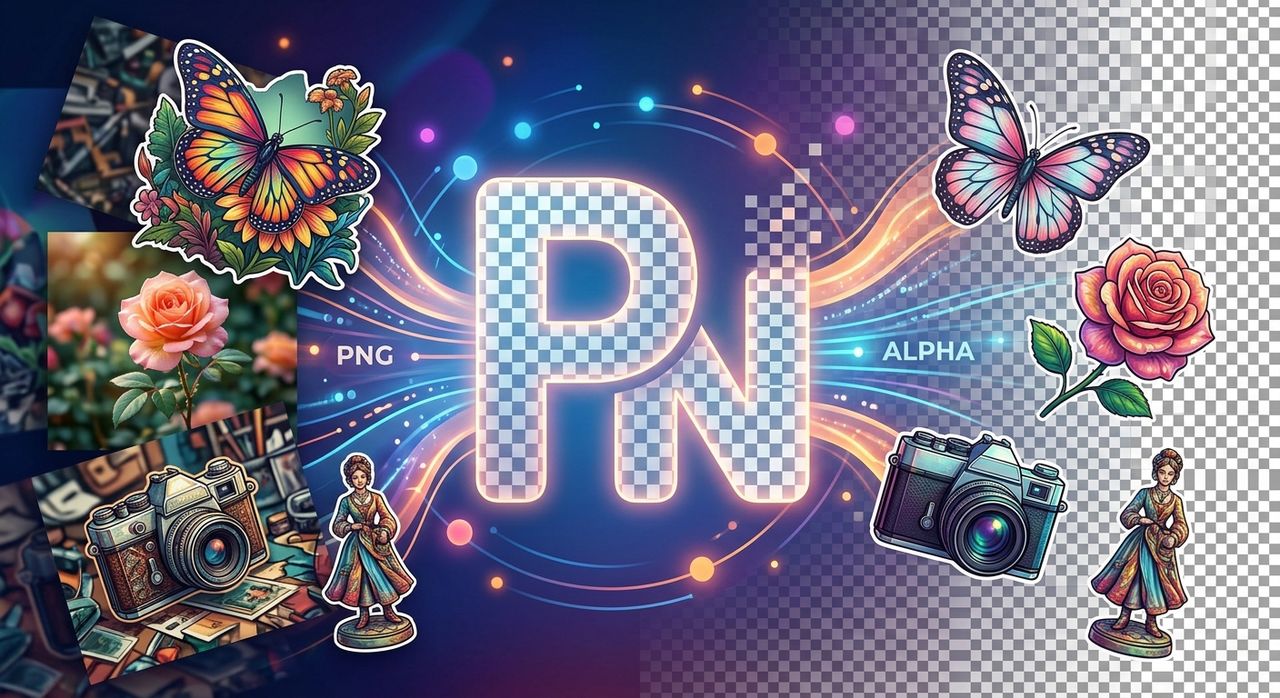
Stock PNG libraries are genuinely useful, up until the moment they aren't. You need a product shot on a transparent background, but every stock image has the wrong angle. You need a graphic that matches your brand palette, but nothing fits. You need a custom cutout of something specific, something no stock library has photographed yet. That's the moment when knowing how to make your own transparent PNG stops being a nice-to-have and becomes essential.
Key Takeaways:
- Stock PNGs often fall short for specific design needs, making custom transparent PNGs the smarter creative choice
- PNG's alpha channel is what enables true, per-pixel transparency in digital graphics
- AI-powered background removal is now the fastest and most accurate way to create transparent cutouts from any photo
- You can strip any photo background to a clean transparent layer in seconds without manual selection tools
- High-resolution print and large-format web use require upscaling your PNG before exporting to avoid visible quality loss
There's nothing wrong with stock PNG resources. They cover a huge range of subjects, and for generic needs, they work fine. But designers and content creators run into specific walls that no stock library can fix.
The subject might be right but the lighting is off. The product you need to isolate is your own, not something that exists in a catalog. The angle of a stock photo doesn't match the composition of your layout. Or the color of an object clashes with your palette in a way that can't be adjusted with a simple filter.
This is a recurring problem for anyone building social media graphics, e-commerce product pages, presentations, print materials, or web banners. The design requires exactly the right element on a transparent background, and stock just doesn't have it. That's why creating your own transparent PNGs from your own photos has become a standard part of the modern creative workflow.
Before getting into the how, it's worth understanding the why. PNG files support transparency through something called an alpha channel, a layer of data that tells software and browsers how opaque each pixel in the image should be. A pixel with full opacity shows up as solid. A pixel with zero opacity is invisible. Everything in between is semi-transparent.
This is what separates PNG from formats like JPEG. JPEG compresses images without any alpha channel, which means every pixel has a hard, visible color. Paste a JPEG onto a design and you'll always see the rectangular background surrounding the subject. PNG files, by contrast, can carry per-pixel transparency data, which is why they became the standard format for cutouts, logos, icons, and layered graphics.
The PNG format was specifically designed to support lossless compression with full alpha channel support, making it ideal for graphics that need to sit cleanly on any background color or texture.
If stock doesn't have what you need, the answer is to make it yourself. Take your own photo or source an image you have rights to use. Then strip the background to create a transparent layer. A few years ago, this meant careful work in Photoshop with the pen tool, magic wand, and refine edge panel. It was slow, required real skill, and produced inconsistent results around fine details like hair or fur.
AI has changed that entirely. Modern background removal tools use machine learning models trained on millions of images to recognize subjects, separate them from their backgrounds with pixel-level accuracy, and output a clean PNG with a transparent layer in seconds. The quality of the output, particularly around complex edges, is dramatically better than what most manual methods produce.
Using an AI background remover means you can take any photo, drop it into the tool, and get a professionally cleaned transparent PNG within moments. No selection tools, no layer masks, no careful painting around stray hairs. The model handles it automatically, and the result is ready to drop straight into your design.
The quality of your transparent PNG depends heavily on the source photo. A well-shot original will produce a better cutout than a low-resolution or poorly lit one, even with the best AI tool.
A few things that consistently improve results:
None of these are requirements. AI background removal works on imperfect photos too. But starting with a cleaner source means less touching-up on the other side.
Not every background removal scenario is the same. Sometimes you have a simple product on a plain surface. Other times you have a person with curly hair, a pet with fine fur, or a complex outdoor scene. Different approaches suit different jobs.
| Method | Speed | Edge Accuracy | Best For |
|---|---|---|---|
| AI background removal | Seconds | Excellent | Most photos, complex edges, hair, fur |
| Photoshop pen tool | Minutes to hours | Very high (manual) | Geometric shapes, product photography |
| Magic wand / select subject | Fast | Moderate | Simple, high-contrast subjects |
| Photoshop refine edge | Medium | High with effort | Hair and soft edges with manual refinement |
| Background eraser brush | Slow | Variable | Small touch-up areas only |
For most creative workflows today, AI removal wins on speed and accuracy, especially for subjects with organic, complex edges. The manual Photoshop path still has value for very specific scenarios, like architectural renders or product shots where perfectly straight edges matter more than natural curves.
Creating a transparent PNG from a photo is one thing. Getting that PNG ready for large-format use is another.
Digital photos taken on most smartphones and cameras are high resolution for screen use, but they can fall short when you're printing large, creating billboard graphics, or embedding images in high-DPI display layouts. Scaling a PNG up manually in any design application will cause it to pixelate. The software is just stretching existing pixels, not adding new information.
An AI image upscaler solves this by using machine learning to intelligently add pixel data when enlarging an image. Rather than stretching existing pixels, it analyzes texture patterns and edge information to generate new pixels that fill in the gaps naturally. The result is a PNG that holds its sharpness at sizes the original couldn't support.
If you're creating transparent PNGs for print, aim to upscale before removing the background when possible, then remove after. This gives the AI more data to work with during upscaling and produces a cleaner final output at the target print resolution.
After creating and optionally upscaling your image, how you save it matters. A few things that consistently trip people up at the export stage:
These small steps ensure that the transparency you created is actually preserved in the final file and doesn't get accidentally converted to a white or black fill during export.
The gap between "I need a custom transparent PNG" and "I have one" is smaller than it has ever been. You don't need professional photo editing software or hours of careful selection work. You need a decent source photo, a good AI tool, and a basic understanding of how the PNG format handles transparency.
For most projects, the workflow is simple: photograph or source your subject, run it through background removal, check the edges, and export. For high-resolution output, add an upscaling step before or after removal depending on your target use.
Custom transparent PNGs let your designs use exactly the subject, angle, and color palette you actually need, not the nearest approximation from a stock catalog. That control is what separates polished creative work from work that almost gets there. With the right tools, that control is genuinely accessible to anyone who needs it.
Build a room mood board in Canva with transparent PNG furniture, plants, and decor. Learn layering, realistic scale, and coordinating wall art.
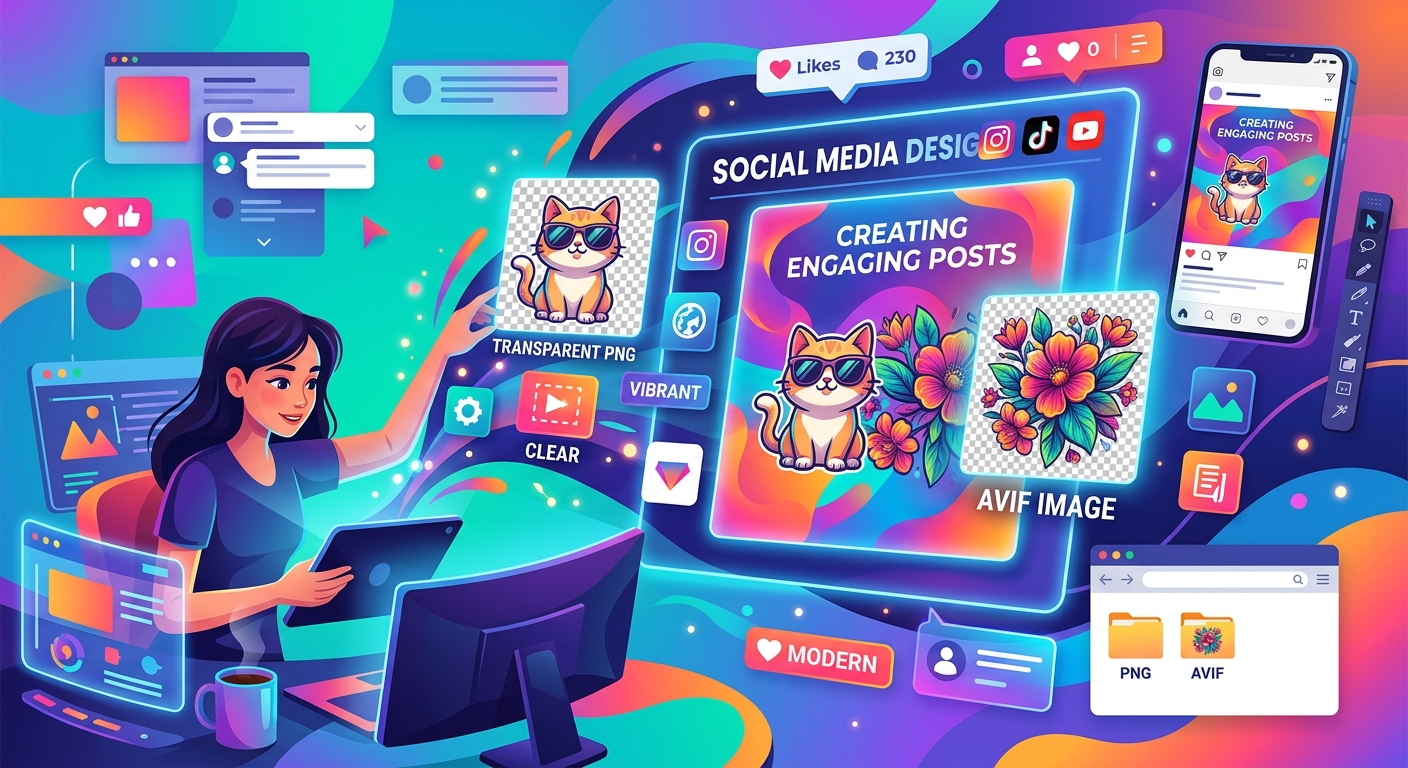
Combine transparent PNG cutouts with AVIF photos in Canva or GIMP. Build clear thumbnails and social posts, handle import issues, and export clean designs.
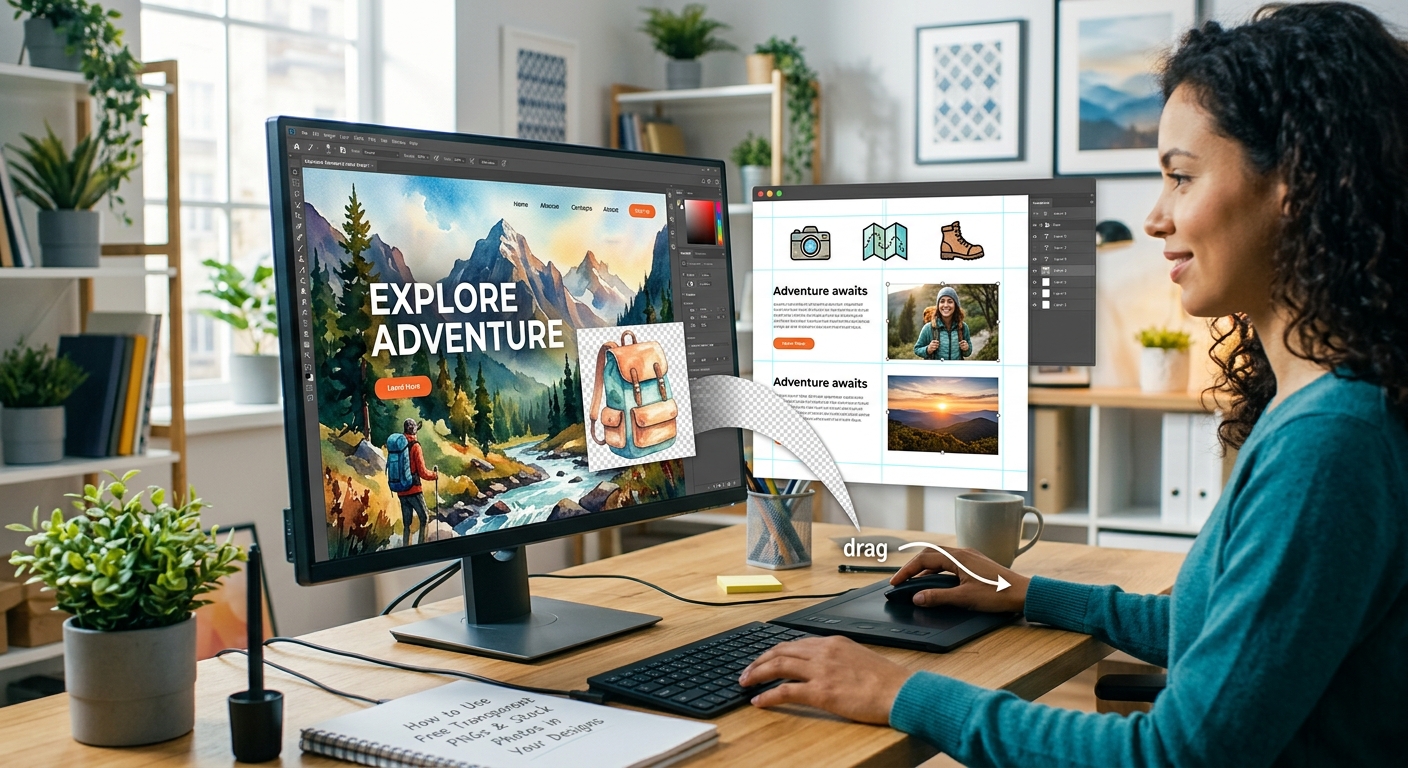
Layer free transparent PNGs over stock photos in Canva or GIMP to build polished thumbnails, social graphics, and blog headers step by step.